

Are you experiencing connectivity issues with your Starlink internet connection? Do you find yourself frequently losing signal or struggling to load web pages? These problems can be frustrating, but luckily there’s a simple solution: resetting your router. In this comprehensive guide, we’ll walk you through the steps to reset your Starlink router and get your internet back up and running smoothly. So grab a cup of coffee and let’s dive in!
See Also: What Is Generative AI? Concept, Capabilities, & Applications
What You’ll Need
Before you begin the process of resetting your Starlink router, there are a few things that you will need to have at your disposal. Here is a list of items that you should make sure to have on hand before starting:
1. Your Starlink Router: This may seem obvious, but it’s important to ensure that you have the router in front of you.
2. A Computer or Mobile Device: You will need either a computer or mobile device with an internet connection to access the router’s settings page.
3. Login Details: You will also need your login credentials for accessing the router’s settings page. If you haven’t changed them since installation, they can usually be found on the back of the device.
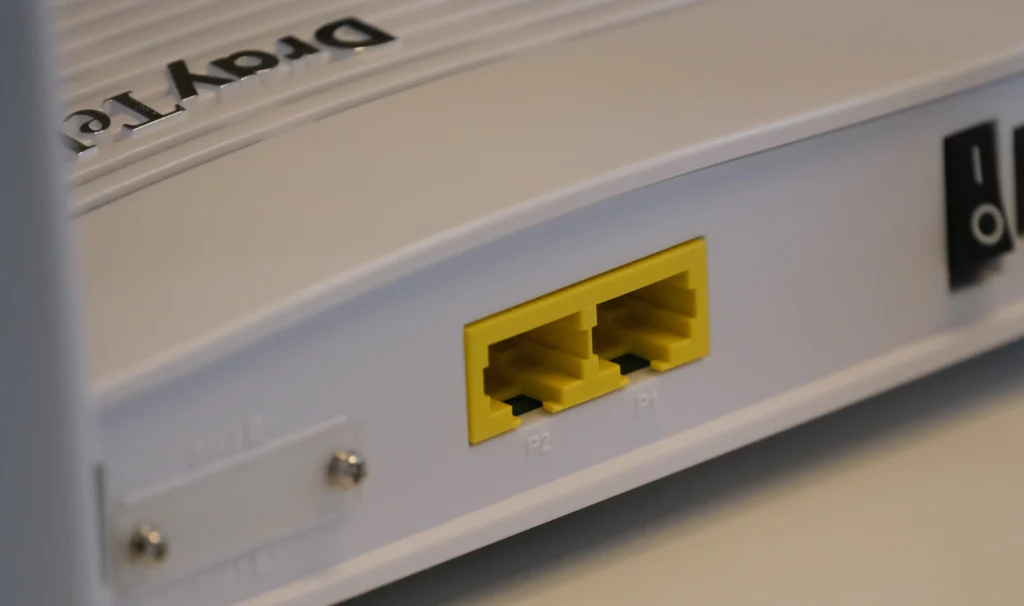
4. A Paper Clip or Pin: To perform a factory reset on your Starlink router, you’ll need something small enough to fit into its reset button hole; such as a paper clip or pin.
5. Patience: Although resetting your router is not overly complicated, it can take some time and patience depending on how long it takes for everything to reboot properly.
Having these items ready before beginning can help streamline the process and save any unnecessary frustration during what could already be an inconvenient situation in which restarting Wi-Fi connectivity may require some additional troubleshooting steps beyond just resetting your hardware components alone.
See Also: Why Green Tech Purewash Is the Reprieve We All Need Right Now
The Steps to Resetting Your Router
Resetting your Starlink router may seem like a daunting task, but it’s actually quite simple. In fact, the entire process should only take a few minutes of your time.
First and foremost, you’ll need to locate the reset button on your router. This can typically be found on the back or bottom of the device. Once located, use a small pin or paperclip to press and hold down the reset button for at least 10 seconds.
After releasing the reset button, wait for your router to reboot itself. This can take anywhere from 30 seconds to several minutes depending on your specific model.
Once your router has finished rebooting, it will have been restored back to its factory default settings. You’ll then need to reconfigure any custom settings such as network name and password.
It’s important to note that resetting your Starlink router will erase all previously saved data including Wi-Fi passwords and network configurations. So before proceeding with this process, make sure you have backup copies of any important information stored within the device.
Resetting your Starlink router is an easy way to troubleshoot connectivity issues or restore lost performance speeds. Just remember to follow these steps carefully and always keep track of any necessary backups along the way!

Why You Might Need to Reset Your Router
There are several reasons why you might need to reset your Starlink router. One of the most common is when you experience connectivity issues with your internet connection. This can happen due to a variety of factors, including interference from other devices or network congestion.
Another reason could be that your router settings have become corrupted over time, leading to slow speeds and poor performance. Resetting your router can help clear up these problems and restore optimal functionality.
In addition, if you’ve recently made changes to your network configuration or added new devices, resetting your router may be necessary to ensure compatibility and smooth operation.
Sometimes, it’s simply a matter of routine maintenance – resetting the router periodically can help keep things running smoothly and prevent more serious problems down the line.
Whatever the reason for resetting your Starlink router, it’s always a good idea to follow best practices and take proper precautions before doing so. By following our comprehensive guide outlined in this post, you’ll be able to reset your router quickly and easily without causing any damage or disruption to your home network setup.
Conclusion
Resetting your Starlink router is a simple process that can help you fix any issues you may be experiencing with your internet connection. By following the steps outlined in this comprehensive guide, you should be able to reset your router with ease.
Remember that resetting your router will erase all customized settings and return it to its default factory settings. This means that you will need to reconfigure everything after the reset, including Wi-Fi passwords and other network settings.
If resetting your Starlink router doesn’t resolve the issue, then it’s best to contact their customer service for further assistance. They have a team of experts who are ready to assist customers with any problems they encounter.
We hope this article has helped you understand how to reset a Starlink router. Thank you for reading!